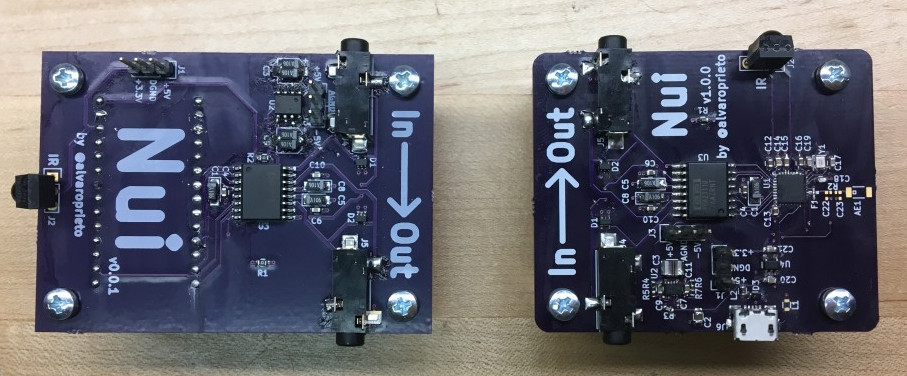
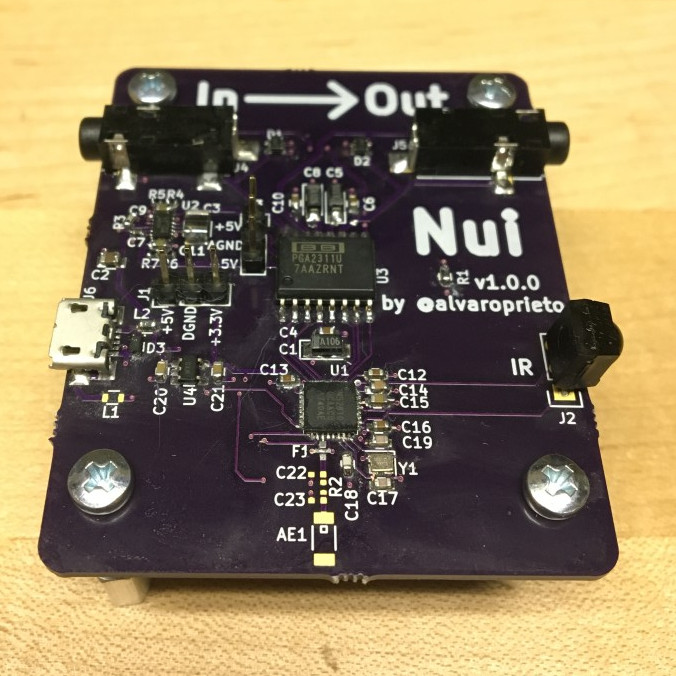
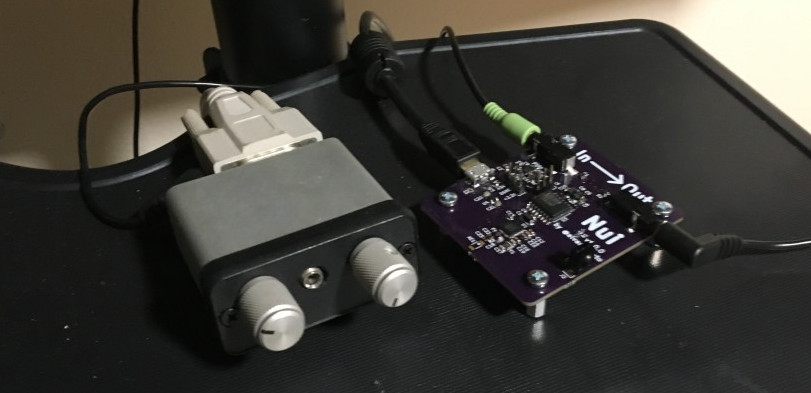
Nui is an IR controlled volume controller for analog audio. It sits between your audio source and speakers and can amplify or reduce the volume using IR commands (and eventually BLE).
Why do I need this?
It all started because I have my trusty Logitech Z-2300 speakers and subwoofer I purchased back around 2004/5. They still work great, but instead of being on my computer, they are used for my TV. Unfortunately, the TV’s line out doesn’t honor the TV’s volume and is always outputting at max volume. Sure, I can get up and change the volume on the speakers themselves, but wouldn’t it be more convenient to do it with the TV remote?!
That’s how the Nui project started. It sits between my TV and my speakers and now I don’t have to get up to change the volume :D
Version 0.0.1 (The Teensy One)
Hardware/Design
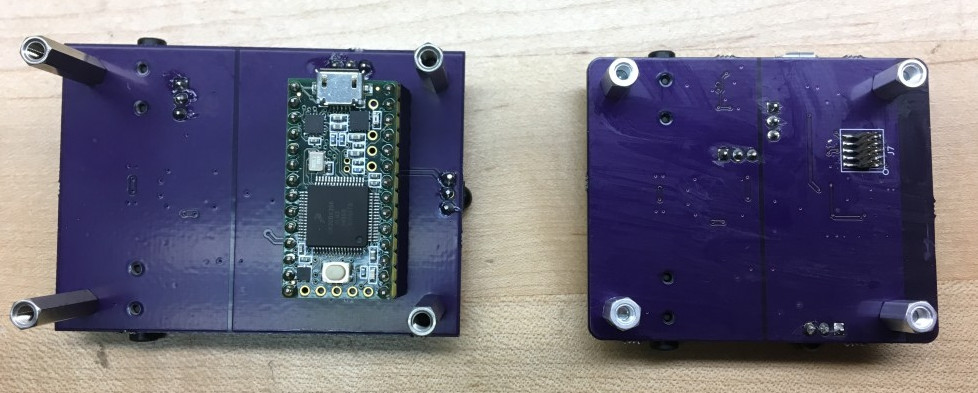
Initially, I decided to use a [Teensy][https://www.pjrc.com/teensy/] microcontroller so I could take advantage of the Arduino-IRremote library (Started by none other than Ken Shirriff!). Not having to write my own IR decoder made getting started super easy
I wanted to use the project not only to solve my volume control problems, but to learn some new things. I hadn’t dealt with analog audio before or negative voltage rails on my projects, so it was a fun way to try them out.
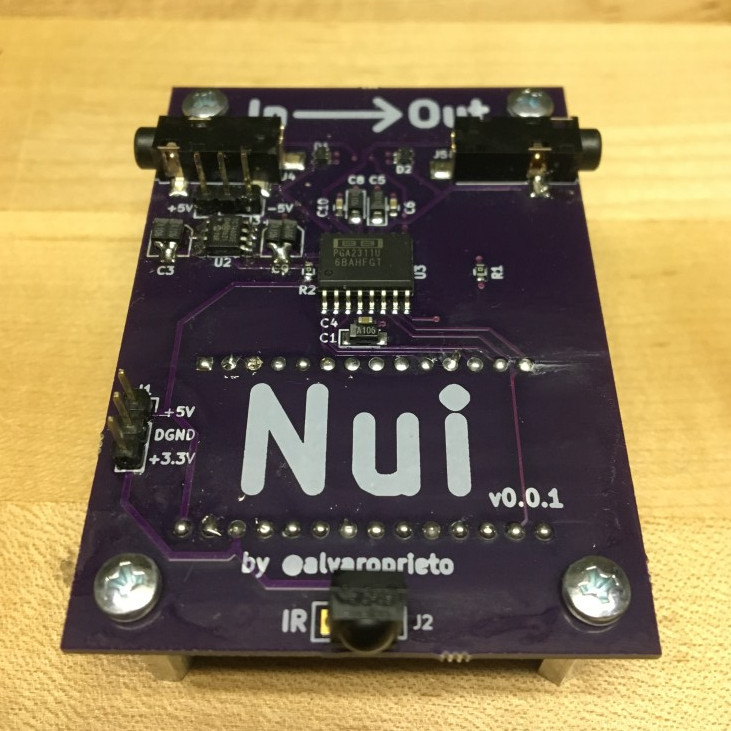
After lots of searching and reading about audio amplifiers, digital potentiometers, and many other things, I decide to go with TI’s PGA2311. They call it a “Stereo Audio Volume Control”, which is just what I needed. It takes a stereo audio input and can both amplify and attenuate the volume. It is controlled over the SPI bus, which makes it easy to work with.
One of the cool features is the zero-cross detection, which makes sure it only changes the volume when the signal is crossing 0V, which gets rid of any popping noise due to the sudden gain change. The device also has a hardware mute, which is nice.
[Un?]fortunately, the PGA2311 needs both a +5 and a -5V rail. As I mentioned before, this is all about learning, so bring it on! I searched around and found the Microchip TC7660S, which is a “Super Charge Pump, DC-to-DC Voltage Converter” that will take my 5V input and convert it to a -5V output. It also has the option to run at 45khz, which should minimize any audible noise generated by it.
Firmware
The Teensy firmware was fairly simple, thanks to the IRRemote Library that made it extremely easy to receive IR commands. Writing the SPI driver for the PGA2311 was super simple, since you just have to write out the volume twice (once for each channel) over SPI.
Results
After assembling the device, I hooked it up to my TV and speakers and hear a not-so-pleasant, but familiar noise and no music coming out. After I raised the volume enough, audio started coming through just fine, but pretty loudly, which was not ideal.
I’ve had grounding issues on my car stereo before, so I went and grabbed a ground-loop isolator I had and connected it between the speakers and the device. (I was using the TV’s USB port to power the device, so I didn’t think the issue was on that side)
Adding the ground-loop isolator fixed the noise problem and everything started working correctly (or so I thought…) While watching a loud-ish film, I noticed the audio would stop working during explosions or other loud events. If I “changed” the volume immediately after that happened, it would go back to normal. This meant that the Teensy that was keeping track of the current volume level was not resetting, but the PGA2311 was. This became annoying rather quickly.
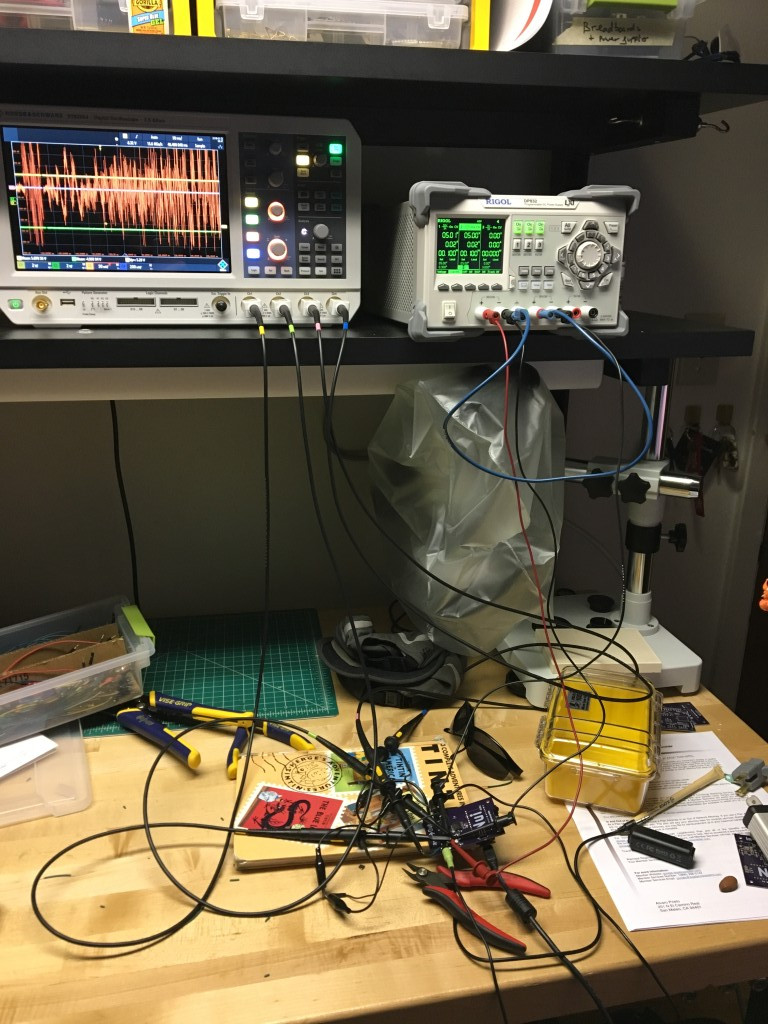
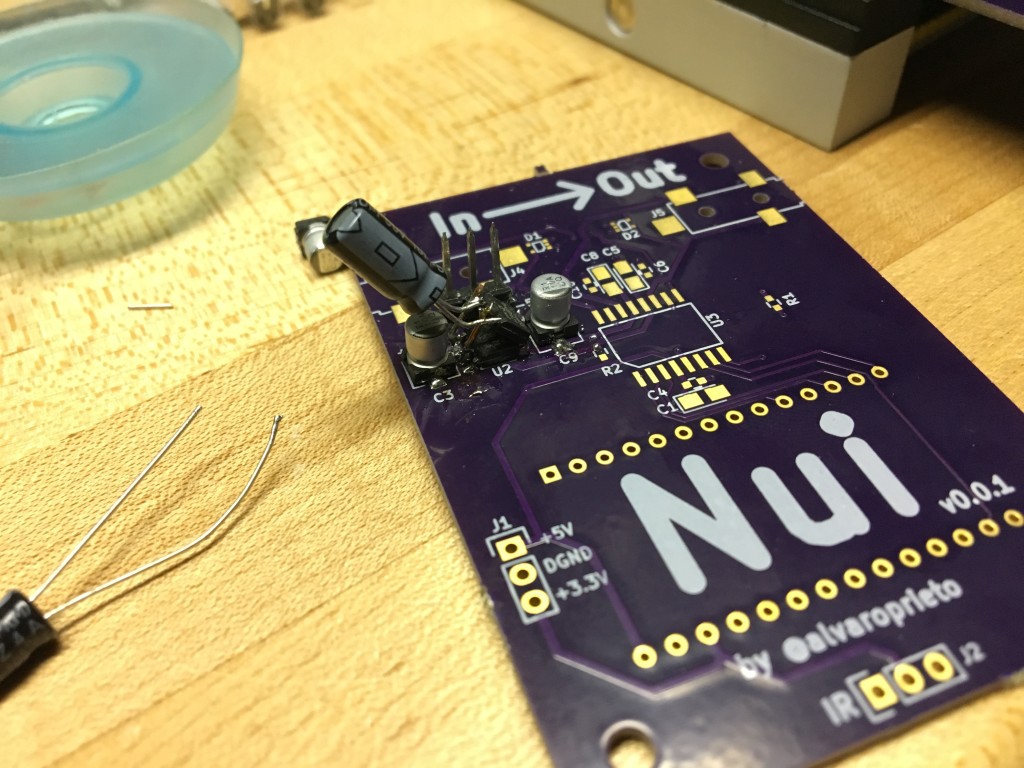
After much investigating, I realized that the TC7660S was just not powerful enough to drive the speaker amplifier input. Using my bench power supply for the +-5V rails got rid of all the issues, so I started looking at power. With my oscilloscope, I could see the -5V rail hanging out around -4V and going up to almost -2V, when the device would then reset. I then put a second PGA2311 in parallel with the first, which seemed to mitigate the issue.
As you can see, the dual TC7660S setup was not the best looking, so I decided to revamp the design.
Version 1.0.0 (The NRF52 One)
Hardware/Design
The main problem with the first design was mostly the power supply. I could have updated just that and been done, but that’s no fun! I’ve been looking for excuses to use the new Nordic Semiconductor NRF52810, which is the low-cost version of the NRF52 family. It has BLE capabilities, and I figured it could be neat to control the volume from my phone as well as the TV remote (someday…).
On the power supply side, I found the TI LM27762 and used their WEBENCH design tool to figure out how to configure it. It was dead simple, enter input and output voltages, and it spits out a schematic with all the components already selected!
Firmware
For the NRF52 firmware, I decided to use Apache mynewt. I’ve been using it for other projects, and figured I might as well start with it if I plan on implementing BLE support someday.
I thought about porting the Arduino IRremote Library over, but decided against it because of not wanting to deal with C++ or to use a GPL license, and because I’d like to learn to do it myself (which is the whole point with these projects.)
I implemented a simple decoder using a timer and interrupts and, after some fighting with SPI drivers, finally got it working.
Results
I prototyped the IR receiver code on an NRF52 development kit ahead of time to make sure it would work before ordering the new PCB’s. The only issues after assembly had to deal with using the smaller NRF52810 with mynewt. Once the SPI driver worked, I was able to control the volume and didn’t have to use the ground loop isolator anymore! Unfortunately, every time I changed the volume, you could hear an audible click…
Long story short, after much debugging, I figured out that a bug in the SPI driver was toggling my mute pin during every transaction. Once I fixed that, it all started working as expected. The new Nui now lives next to the TV :D
More information
If you’d like to see the code or hardware files, take a look at the Nui github project.
