What is this? These are instructions for getting the Xilinx tools up and running on OSX to work with the Embedded Micro Mojo v3 FPGA development board.
Why am I doing this? I bought the Mojo v3 development board last year to start playing with FPGA’s but haven’t gotten around to using it. I figured now is as good a time as any to start…
Why not just dual boot into Windows or Ubuntu? I don’t really have a Windows machine anymore, and why dual boot when I can just use a virtual machine?! I’ve been playing with Vagrant and Ansible at work, so I figured I’d try them out here. My goal is to automate most of the annoying things to get a Xilinx development board working on a VM so that you don’t have to. I was able to get almost everything automated, except for the Xilinx ISE installation, since it requires some user interaction :-/
Prerequisites
- VirtualBox and VirtualBox extension pack
brew cask install virtualbox virtualbox-extension-pack- or download from the VirtualBox website
- vagrant
brew install vagrant
- ansible
brew install ansible
- Xilinx ISE WebPack for Linux Installation file
- Download from the Xilinx website (Make sure you get the “Full Installer for Linux”)
Installation
Install VirtualBox, vagrant, and ansible
Clone the osxMojo repo git clone https://github.com/alvarop/osxMojo.git
If you already have it, copy your Xilinx.lic license key file to the roles/ise/files/ directory. This is for ISE WebPack, you can get a free one from the Xilinx license page. If you have trouble, keep going and ISE will ask you for one later on when it needs it.
In the top directory for the repo, run vagrant up

- This will setup an ubuntu VM with most prerequisites as well as create shortcuts for things
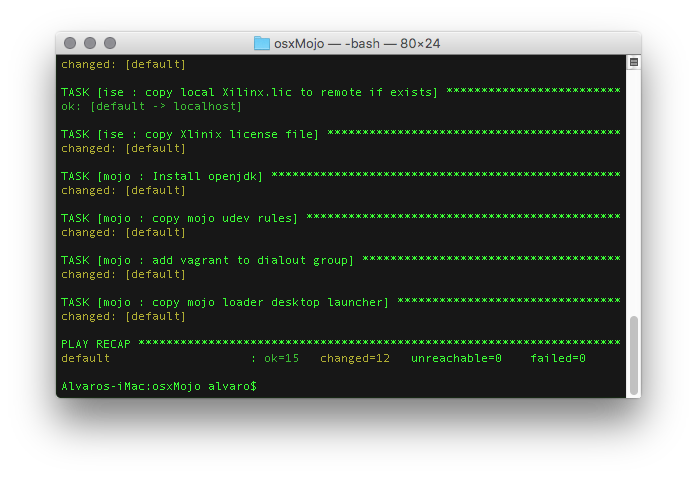
This is what a successfull 'vagrant up' should end like
After vagrant up finishes running, login via the VirtualBox window with username vagrant and password vagrant
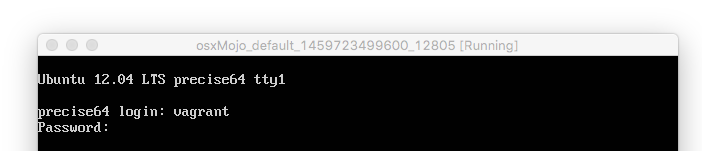
Login via VirtualBox GUI
Once the desktop comes up click on “Use default config”
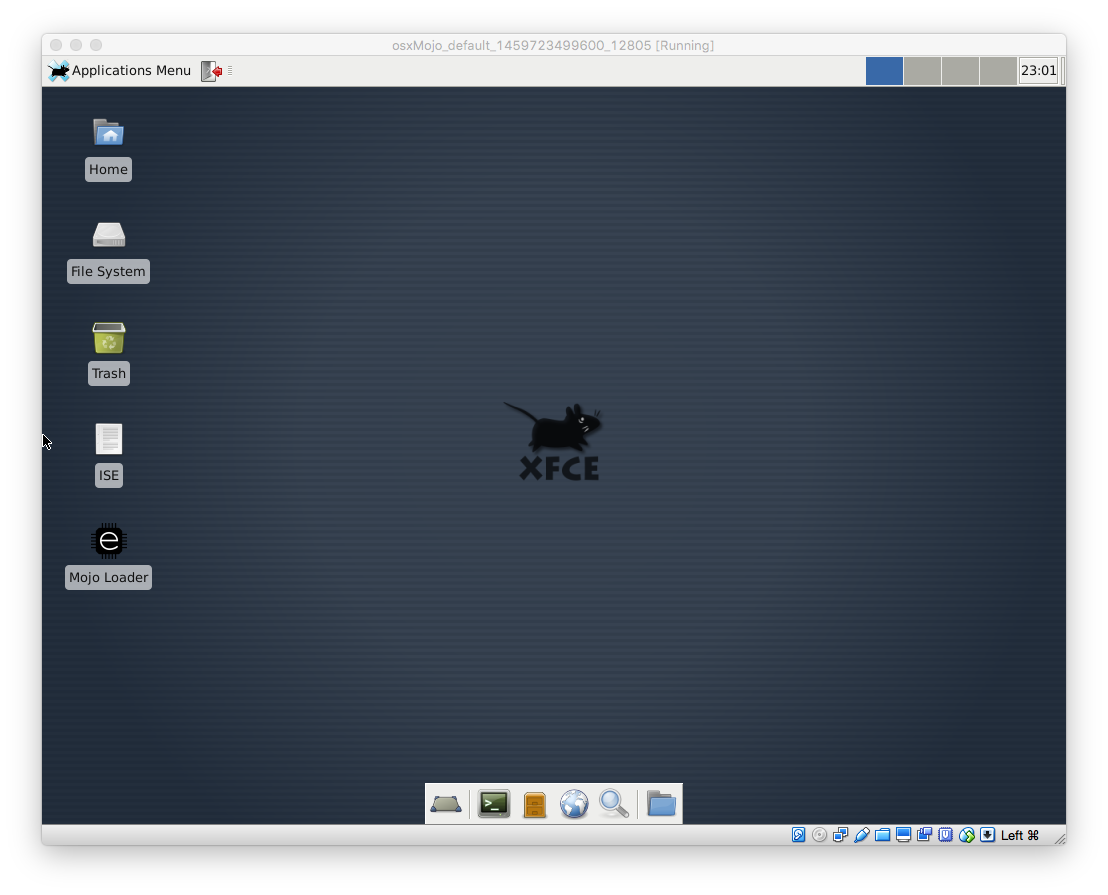
This is what the desktop should look like
On OSX, extract the Xilinx ISE Webpack installation files to the top directory on the host machine (For me it was Xilinx_ISE_DS_Lin_14.7_1015_1)
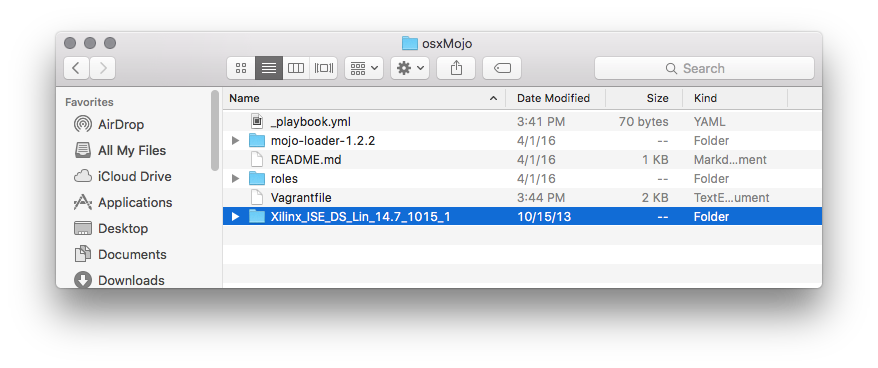
Extract Xilinx installer in the osxMojo directory
In the VM, open a terminal and run sudo /vagrant/Xilinx_ISE_DS_Lin_14.7_1015_1/xsetup to install the Xilinx ISE tools
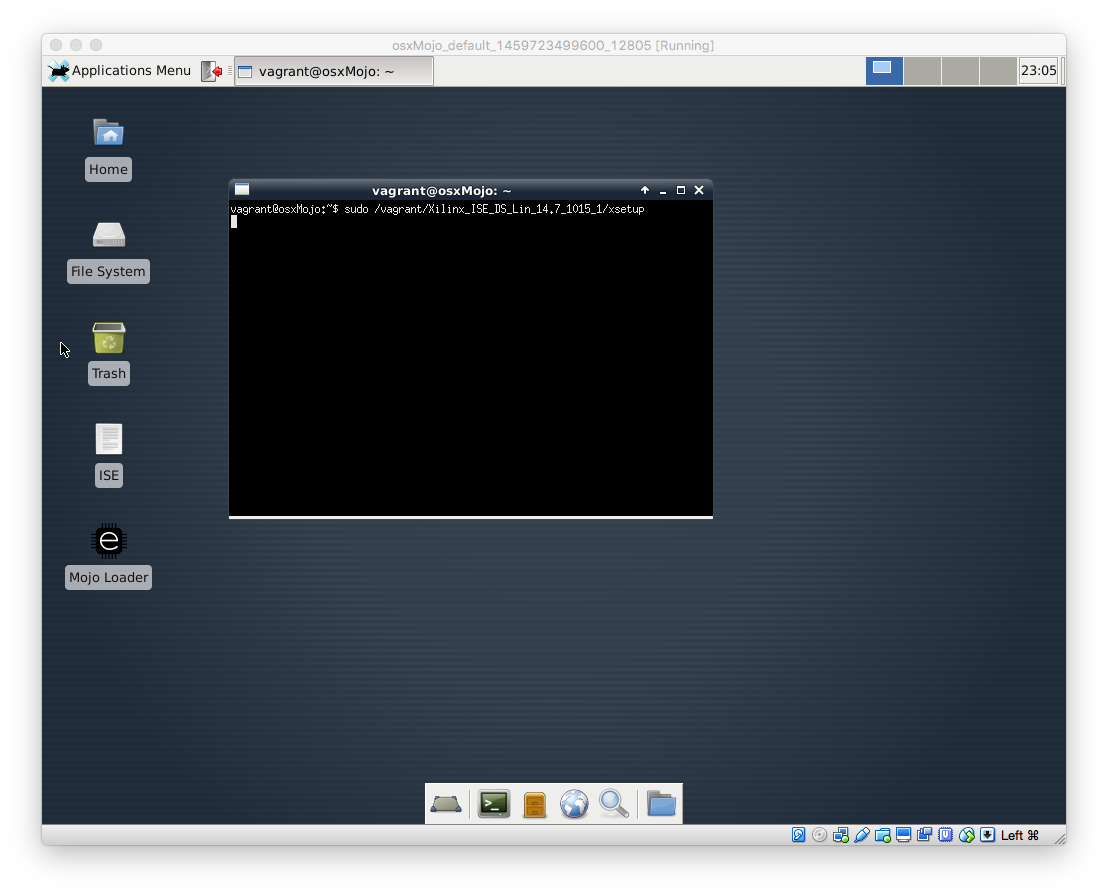
Run ISE installer as root
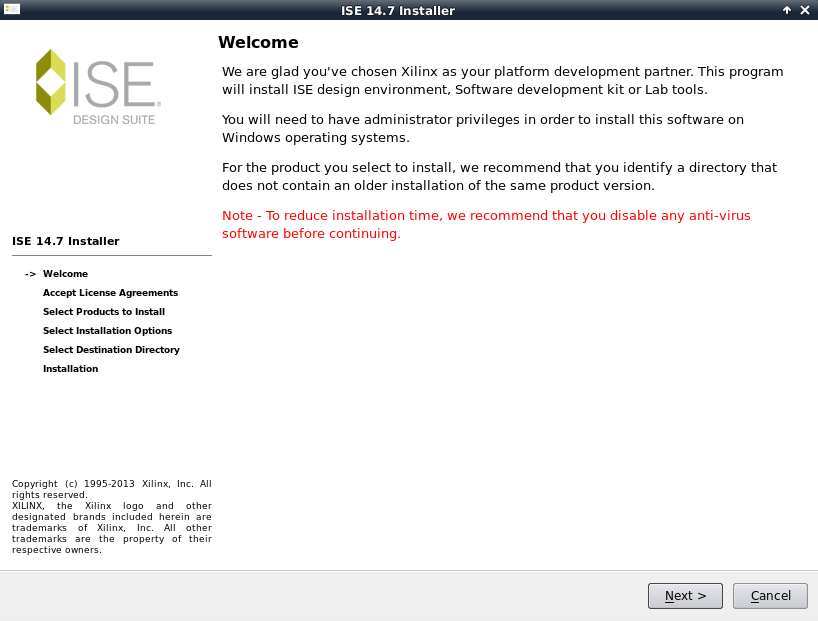
ISE Installer
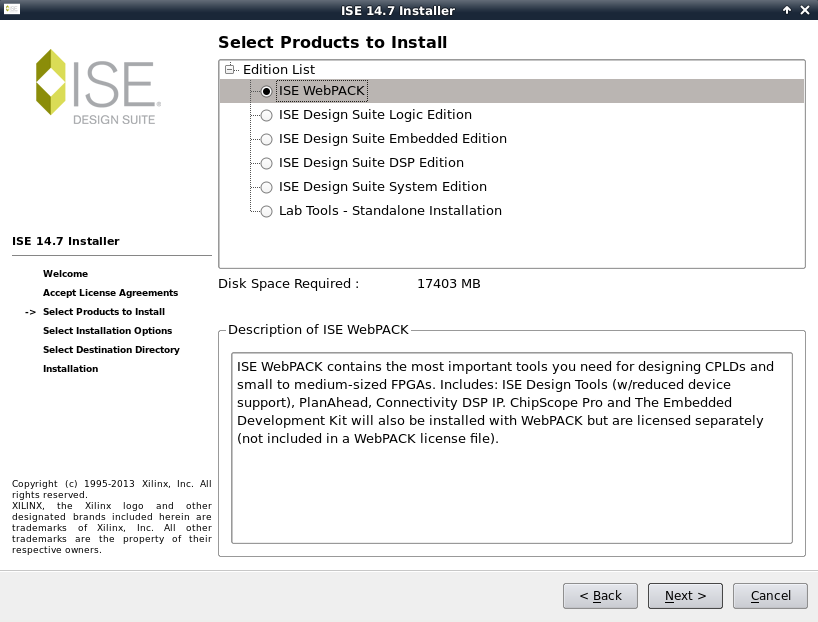
Only install the ISE Webpack
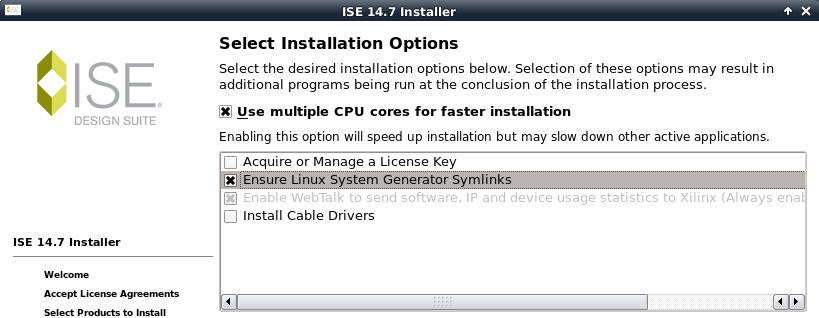
Do what you want here
IMPORTANT: Make sure you set the installation path to /vagrant/opt/Xilinx
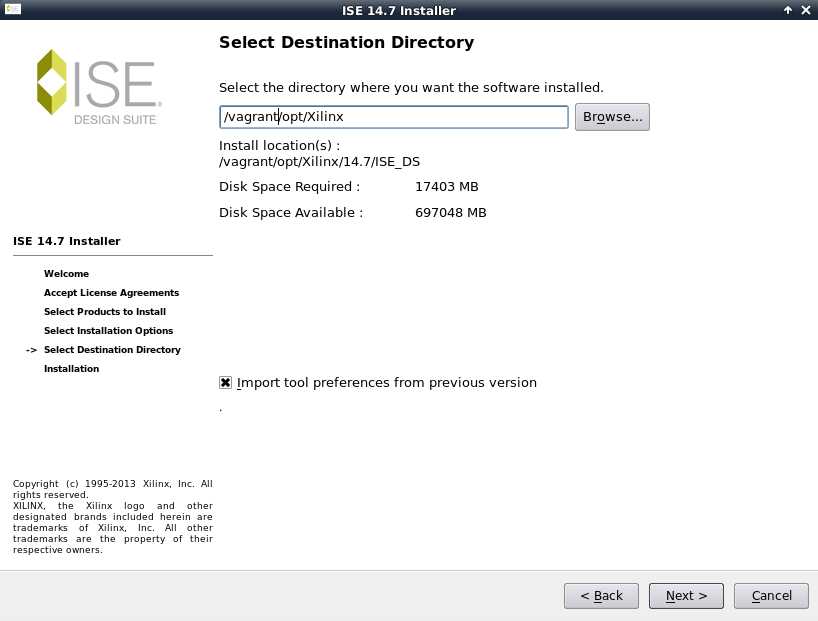
Make sure you set the installation path to /vagrant/opt/Xilinx
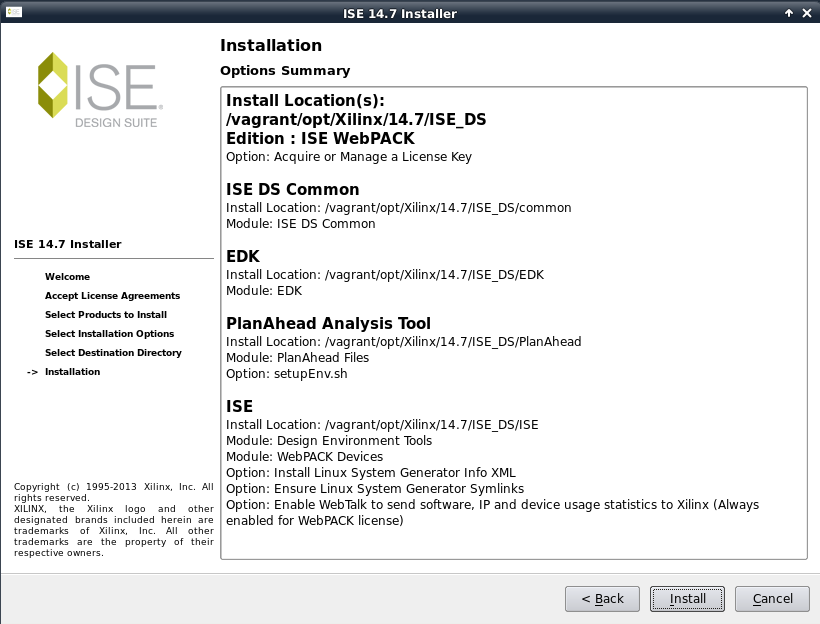
Summary should look something like this
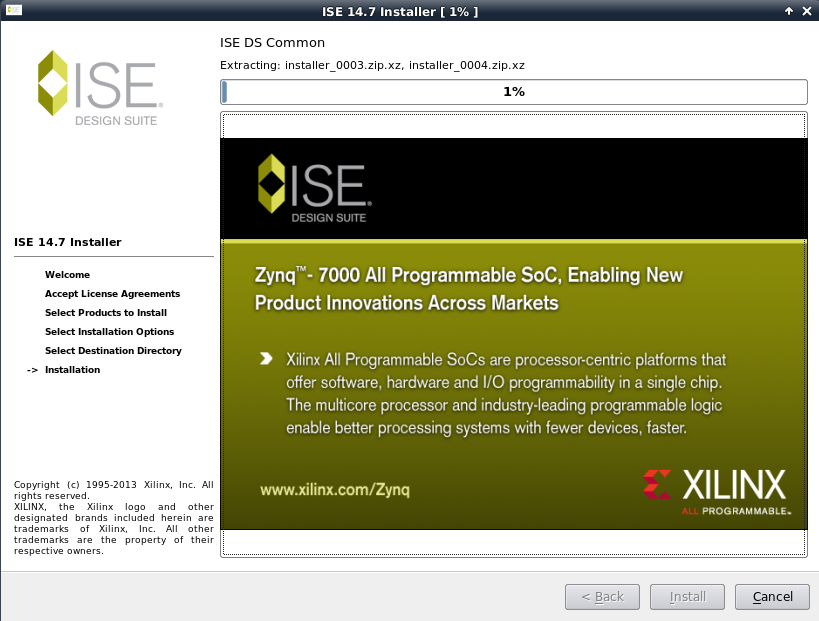
This part takes forever

Seriously... I wrote most of the post and this is still going.
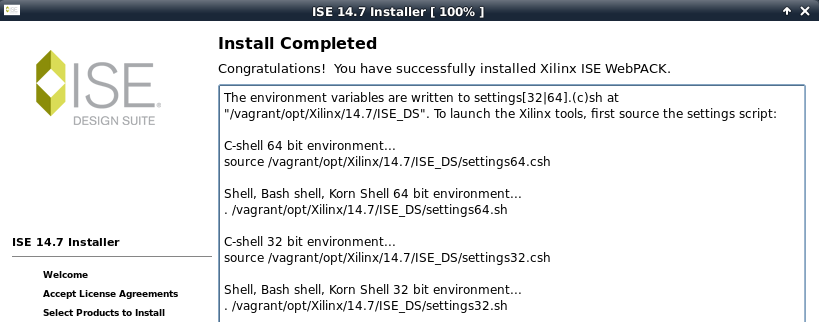
Finally done!
Once the installation is complete, you should be able to run ISE from the desktop icon!
Working with ISE
You can now open ISE with the included desktop shortcut
ISE
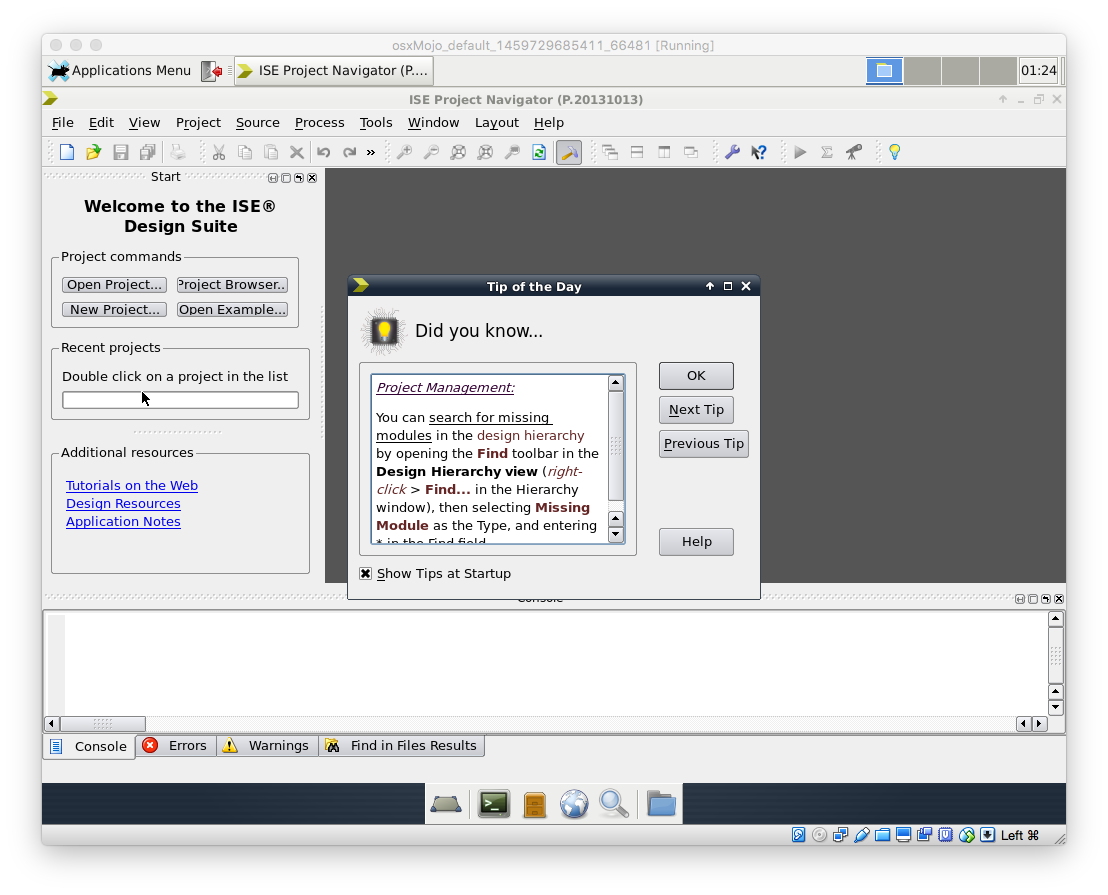
ISE Project Navigator
As an example, you can download the Mojo base project from Embedded Micro’s Creating a Project tutorial. I put the base project in a directory I created under osxMojo/projects/ on OSX. You can now open the project from ISE.
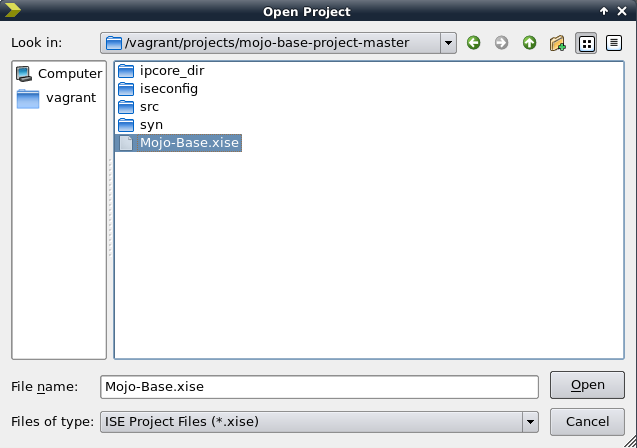
Mojo-Base.xise project
You can generate the FPGA programming file by double clicking “Generate Programming File” on the bottom left (If you can’t find it, check out the Embedded Micro tutorial. It’s much better than this.)
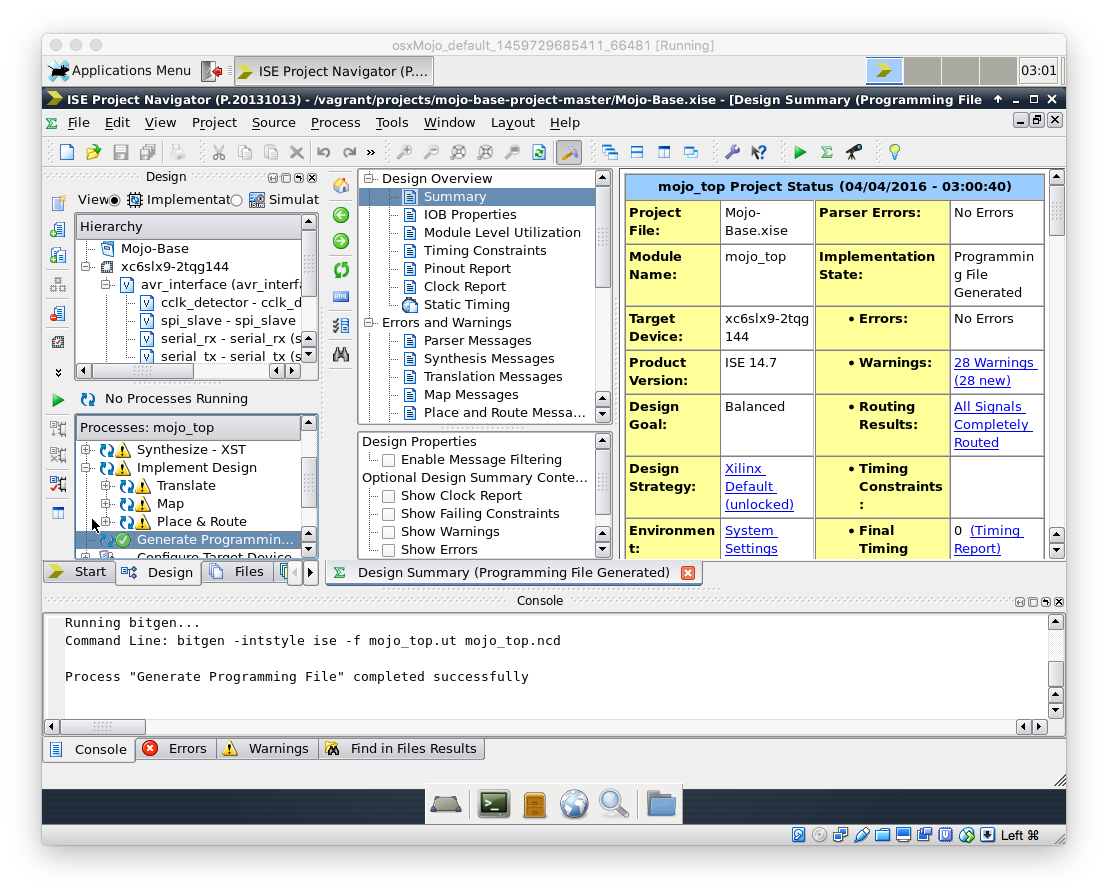
Generate programming file!
Programming the Mojo v3
First, you need to connect your mojo v3 to the computer via USB. Assuming everything goes as planned, the device should be mounted under /dev/ttyACM0. You can check easily by doing ls -l /dev/ttyA* on the terminal.

Make sure the mojo is connected
You can launch the Mojo Loader from the desktop to get started.
Mojo Loader Icon
Select the mojo serial port. (/dev/ttyACM0 in my case)

Mojo Loader
You can now open the mojo programming/binary file created by ISE by going to /vagrant/projects/mojo-base-project-master/syn/mojo_top.bin
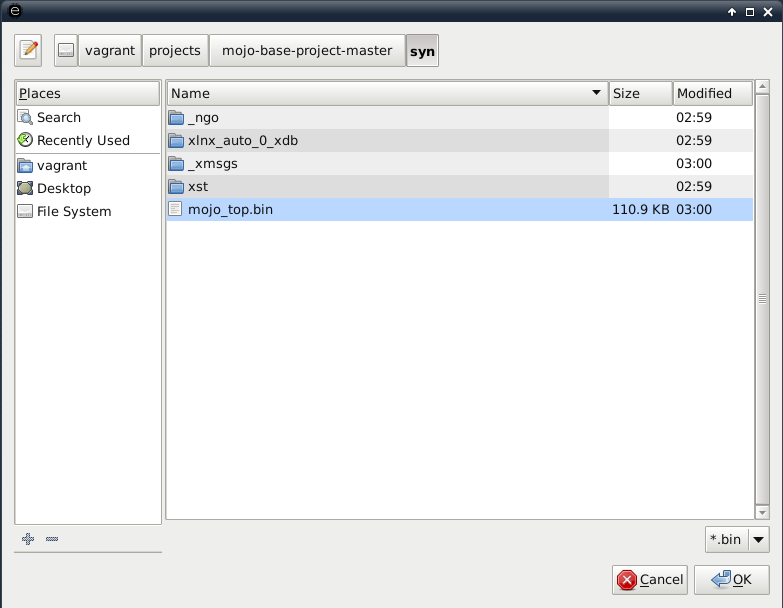
Mojo programming file selection
Once the file is selected, you should be able to program the mojo by clicking on load!
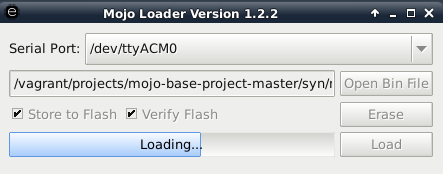
Programming mojo!
Extra tricks
If you’re not using ISE and want to save some memory, you can do vagrant suspend on the command line to put the virtual machine to sleep.
If you want to save disk space, you are able to do vagrant destroy and vagrant up again later without needing to re-install ISE, since we installed it in the /vagrant/opt directory, which is on the shared folder and not in the VM itself.