Portable Flux Capacitor
This year’s work holiday party was Back to the Future themed. I didn’t have any good costume ideas, so with a week to go, I decided to build a portable flux capacitor to bring instead.
The first thing I did was to order some addressable RGB LED strips online.

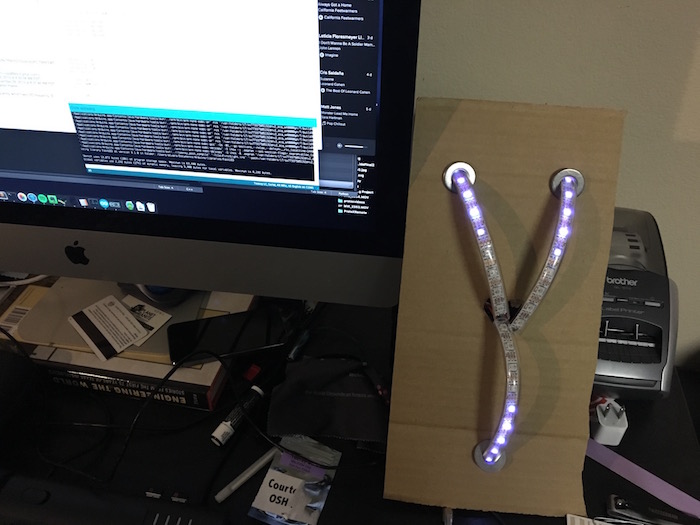
I bought some clear tubing at the hardware store and cut the LED strips to size. I then used a Teensy LC that I got at the Hackaday Superconference with the FastLED library to start playing with the LEDs.

My first attempt used cardboard for the front plate, but the clear tubing was stronger than I expected and did not like being bent that much. The tube would either pop out of its place or bend the cardboard.

I had some leftover alder wood boards from other projects, so I decided to use that instead. It was just large enough to fit the tubes, about the right size for the box I had, and strong enough to hold everything in place.

After making sure everything fit, I spray painted the board silver (because that’s the only color I had.)

I cut a box I had to get the board to fit and glued the rest of it together. I painted that silver as well.

Everything fit in place, but was loose. Thankfully, I have lots of hot glue, so I used that.

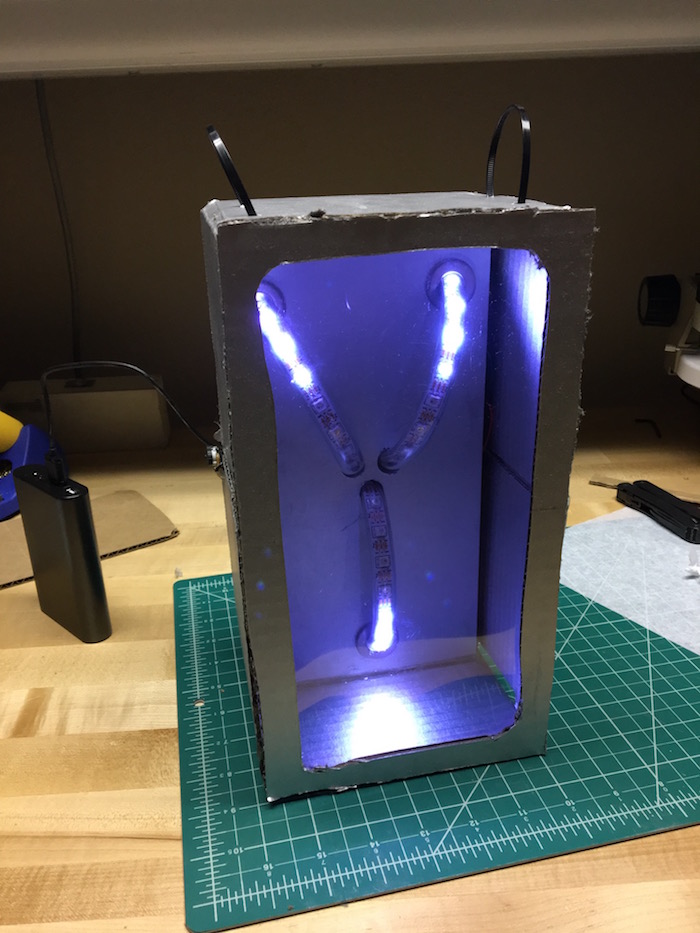
I cut another piece of cardboard to make a ‘window’, glued a piece of clear plastic onto it, and then hot glued that onto the box.

It’s nowhere near close to what it looked like in the movie, but this was more of a rushed job for a party than an actual movie prop replica. (And it’s portable!) I used a USB battery pack to power it with no issues.

If you’re interested, take a look at the Teensy code on github.

The controls on the side consist of two potentiometers and a button all connected to the Teensy. They are used to adjust speed, brightness, and color changes.