Weather Station Project - One Year Later
It’s been over a year since I wrote about my weather station project. A lot of things have happened since, so I figured I would post an update.
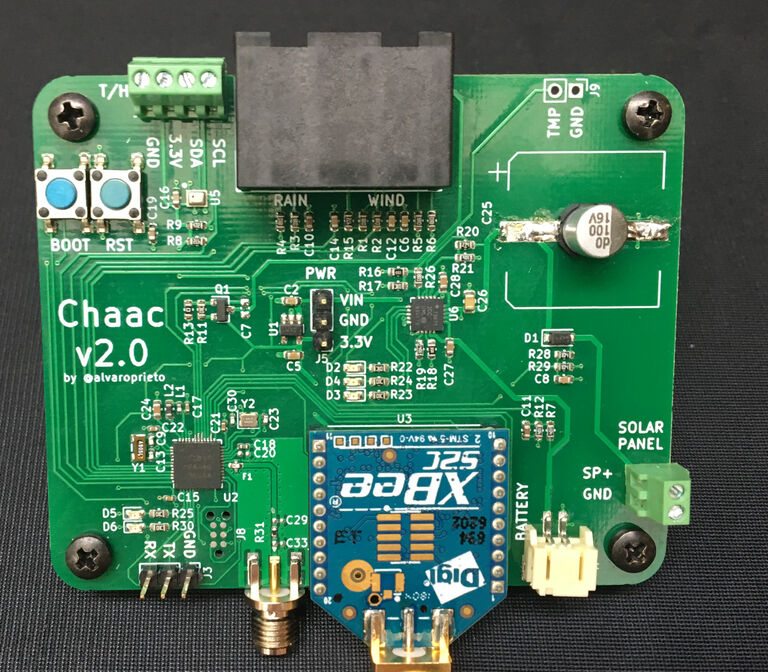
Soon after returning from Mexico, I started thinking of the next version of the board. I didn’t want to continue using the XBee radios, so I decided to try out bluetooth again… In order to continue having a working weather station I kept the XBee radio and added Bluetooth support by switching to an NRF52811 microcontroller, which has the new LE coded PHY for Bluetooth, which, in theory, gives you much longer range. Using version 2 of the board, I was able to get Bluetooth working and brought up the new NRF52


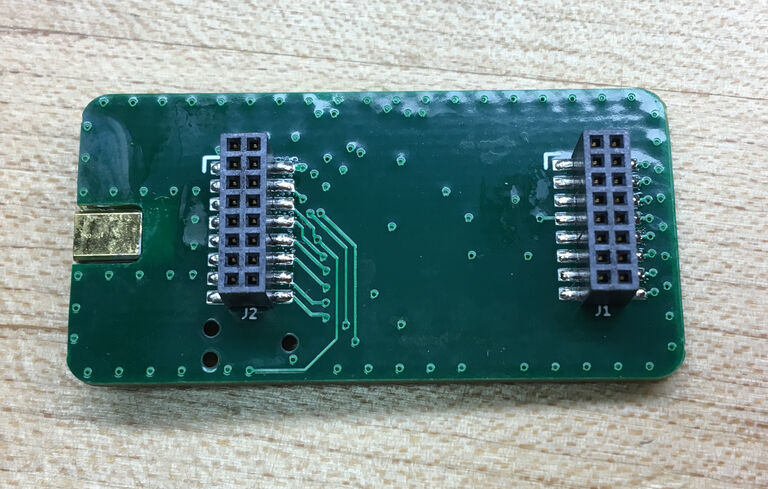
The next version Incorporated a few new technologies that I wanted to try out. The main goal was to make the enclosure smaller and the overall system more compact. I decided to split the project into two separate PCBs, which allowed me to use the slightly more expensive 4 layer board on the radio section and the cheaper 2 layer board for the larger base board. This also allowed me to try out double sided surface mount soldering. I had been using stencils and solder paste, but had never done it on a double sided board
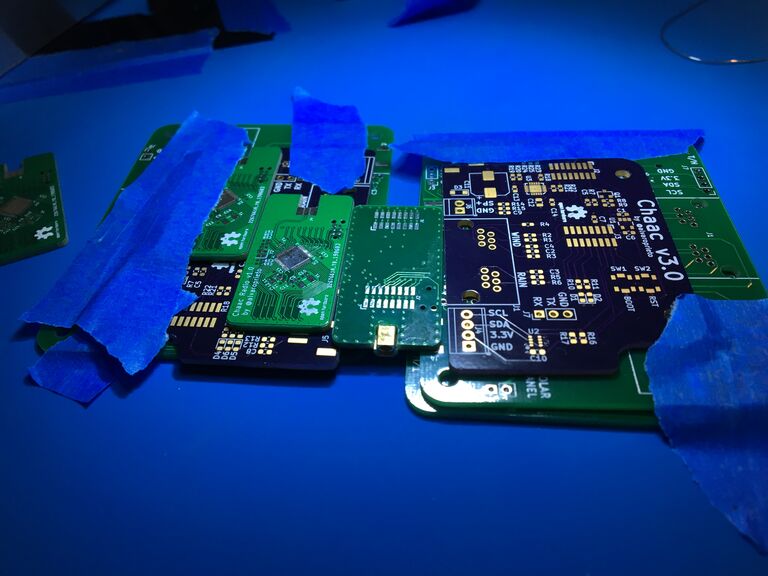
The last new feature I wanted to try out was a different RF connector. Previous boards used an RP-SMA connector but I wanted to try something more compact. I decided against using a u.FL connector due to the low number of insertion cycles, and went with the MMCX connector instead. Another interesting topic I learned a bit about was waterproof RF connectors.

In theory, I would have been able to test different versions of the radio / controller board with the same base board, but in reality, this version only made it to a few conferences as a demo unit.
I actually gave a talk about this at the CrowdSupply Teardown Conference in 2019. I covered a few more details than what I’ve written so far, so you should check it out down below. One quick note that was covered in the video that I won’t go over in detail in this post: The weather data is now publicly available on chaac.network! Each Raspberry Pi logs the data locally and has a persistent WireGuard VPN connection to my server. Whenever a request is made in the public server, it forwards the request down to the respective Raspberry Pi. I didn’t want to make it all cloud based, so the data is always stored locally, even when the internet goes down. This also avoids complicated network setups to open ports in firewalls since all the connections go through a public server.
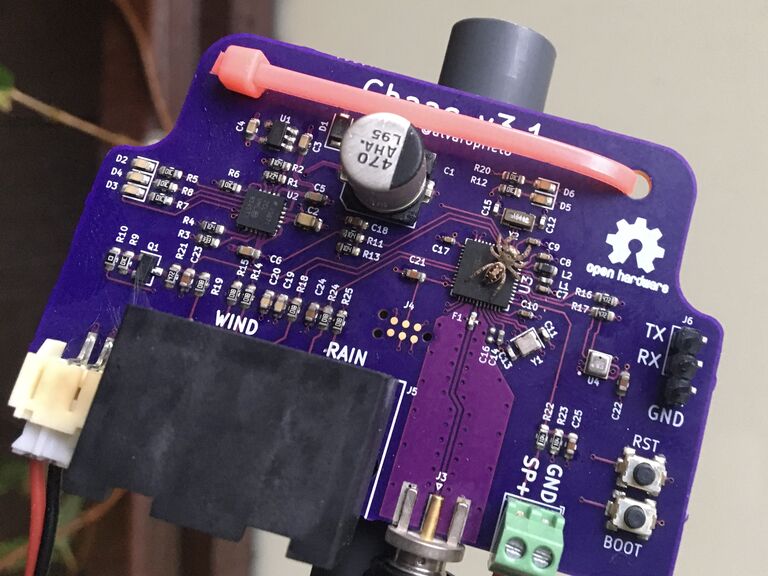
As the year went on, I started thinking of new upgrades to the weather station. I decided to get rid of the two board solution and went back to a single board. This made assembly and conformal coating much simpler. Instead of going with a perfectly sealed enclosure, I started looking at open solar radiation shields, like the Ambient Weather SRS100LX. This would get rid of the external temperature/humidity sensor, which was expensive, and allow to mount all the sensors on the same PCB. I switched from a BMP280 temperature and pressure sensor to a BME280 temperature, humidity, and pressure sensor. Using the radiation shield also gives the benefit of slightly better temperature readings since, as long as there is airflow, it doesn’t heat up nearly as much in the sun.
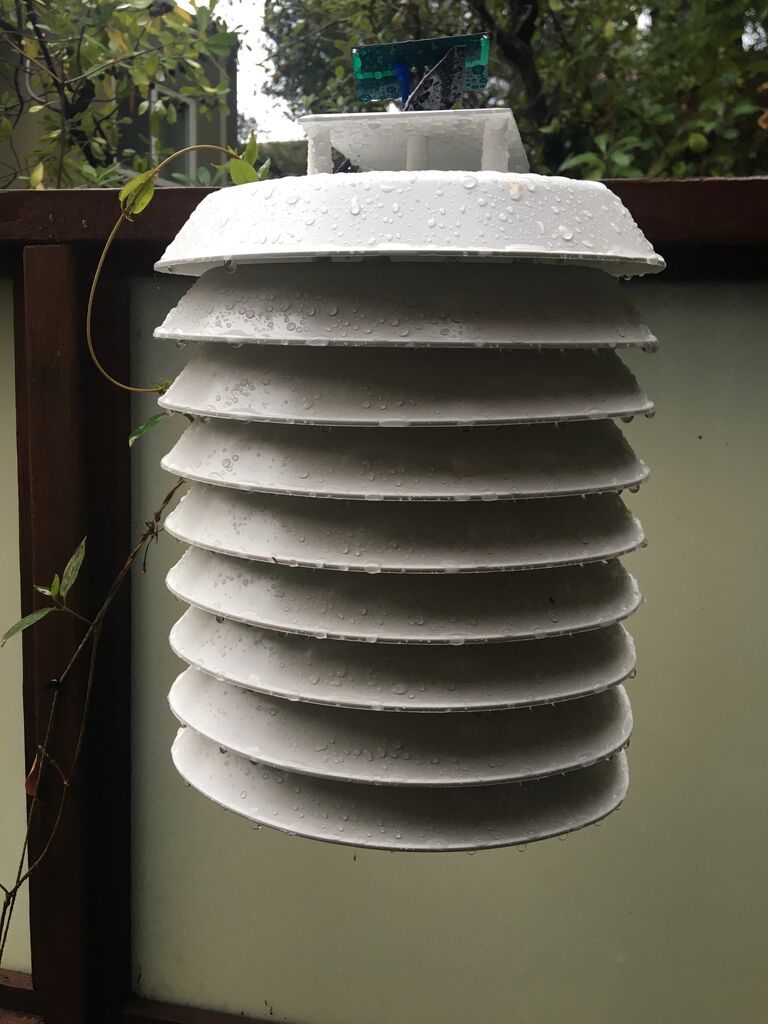

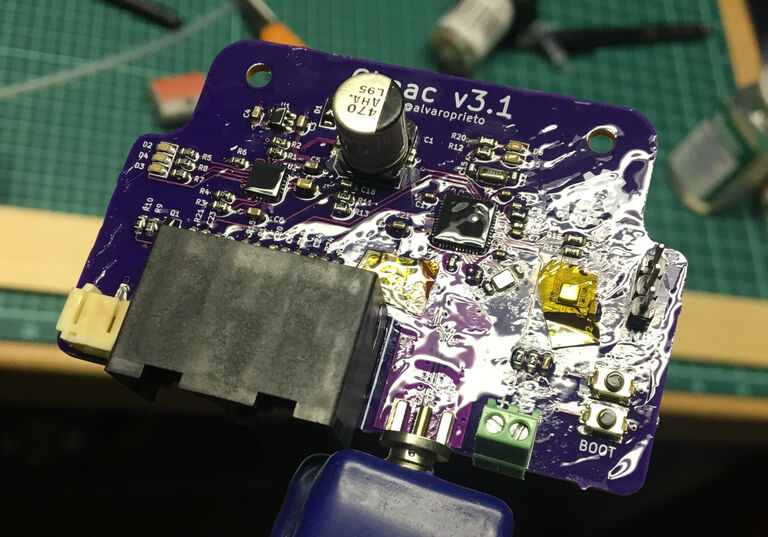
Since the radiation shield leaves the entire board exposed to the elements, I started looking at conformal coating again. I left the new board operating for a while oudoors before coating it to see how much water it would get during a rainstorm. I think it did actually stop working for a bit and I had to bake it in the reflow oven to get it back. It also became the home for some critters rather quickly…

After cleaning and making sure it was working again, I used the MG chemicals #422B silicone conformal coating. Since the sensors need to be exposed, I masked them off with kapton tape before applying the coating.
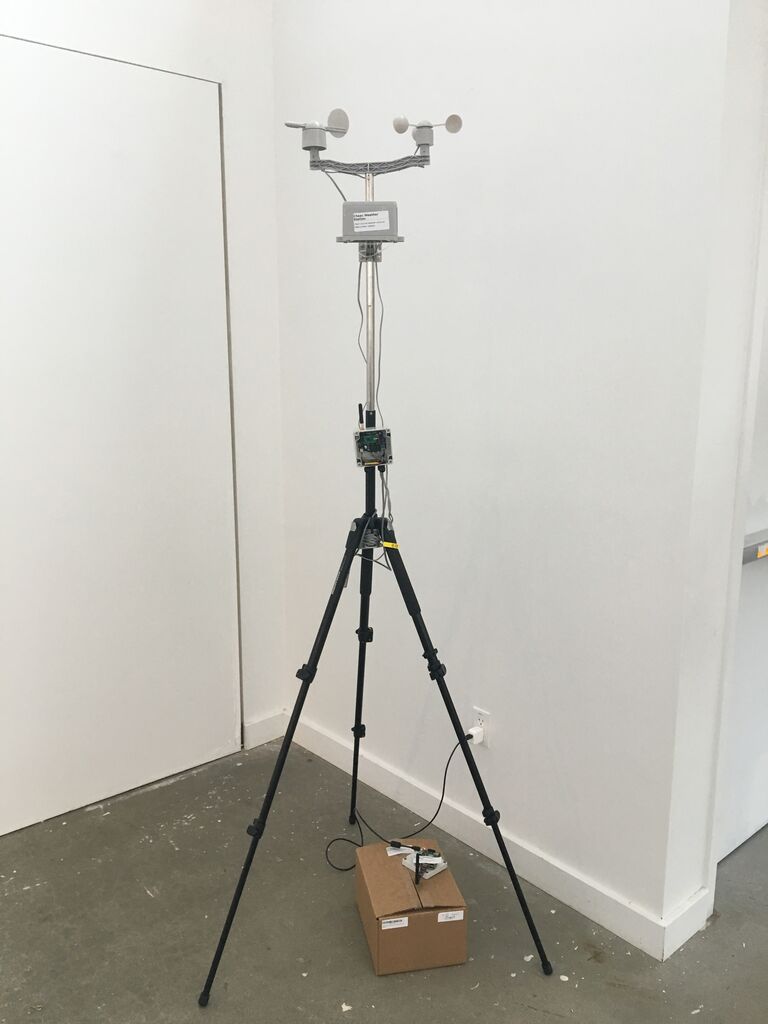
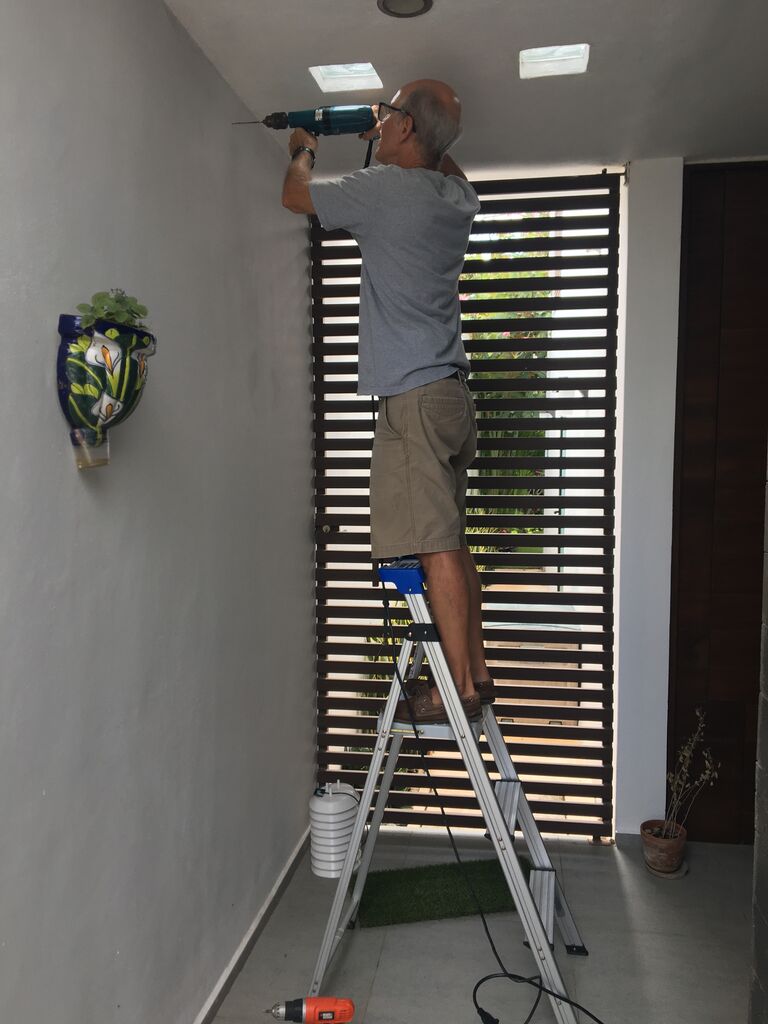
Time flies. By this point, an entire year had passed since my last trip to Mexico! Before heading back there, I put together a new kit with the v3.1 board and a radiation shield. Since there was already a station with a rain/wind sensor at my dad’s house, I didn’t bring an extra one. In order to get better temperature/humidity readings, we decided to install the new one in a sort of alleyway next to the house where it is extremely windy and mostly shaded.
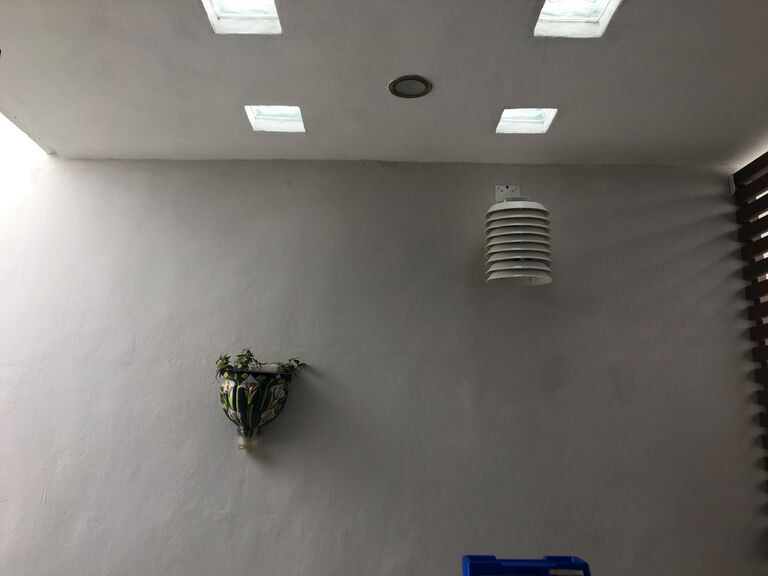
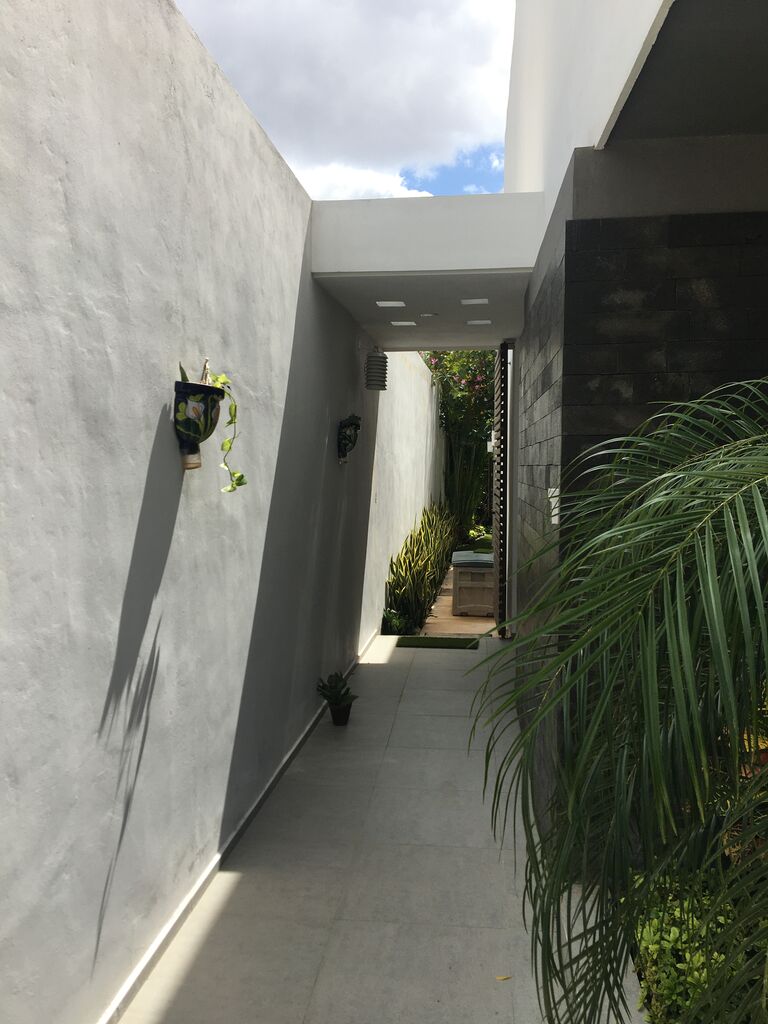
After a few days, we noticed significantly lower measured temperatures down below than on the roof, which was not surprising. Another surprising thing was that it was able to get enough power from it’s tiny solar panel even while mostly covered! This new version was much more efficient power wise. Unfortunately, I never actually got the LE coded PHY for Bluetooth implemented, so the radio range wasn’t very good. We had to move the receiver closer to the weather station than before.


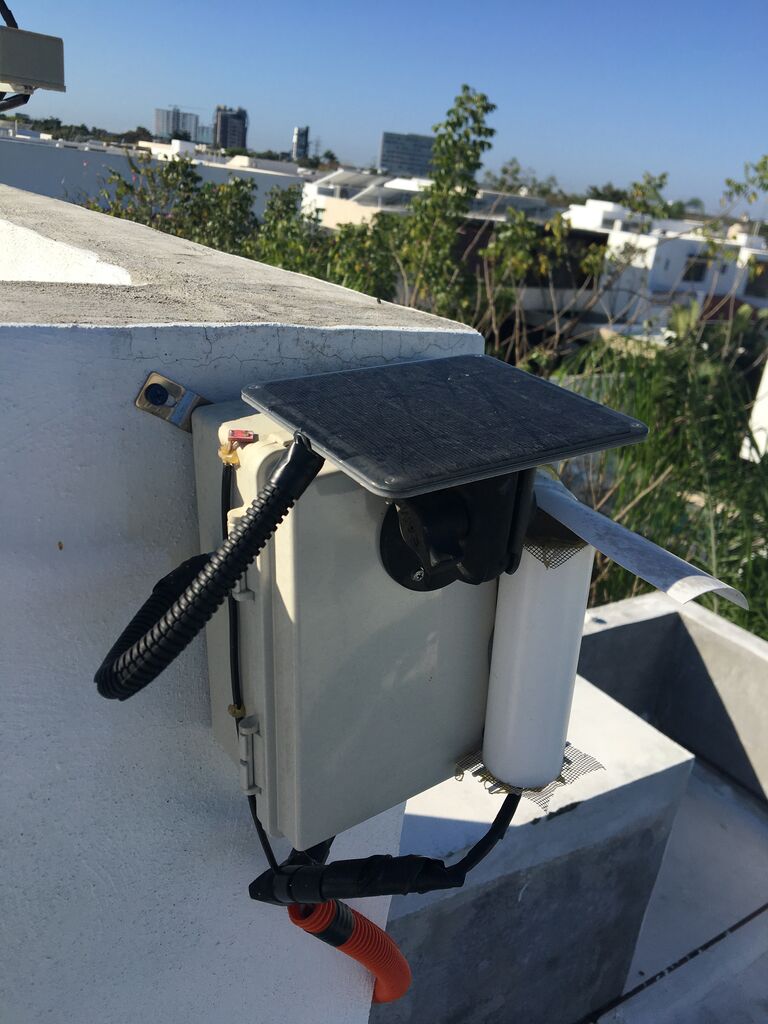
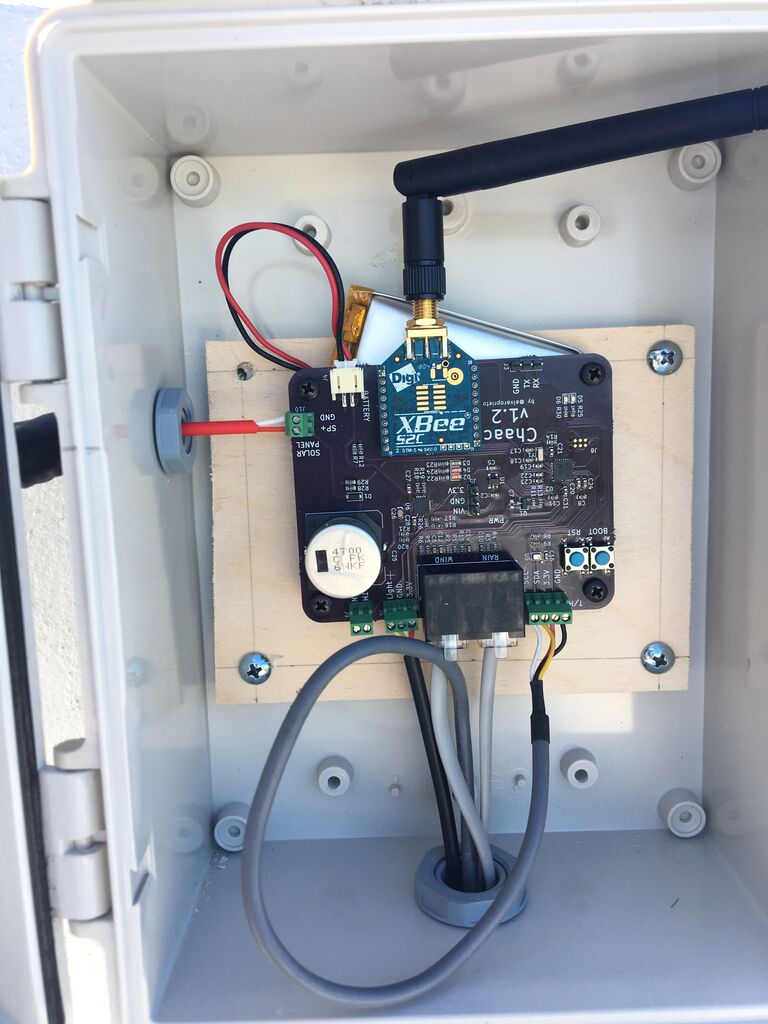
While I was visiting my parents, it was also a good time to check out how the old weather station had fared after one year in the sun. It was fairly dirty and had lots of stains in the plastic, but it seemed ok. As in other cases, a few critters seemed to have come and gone, but the sealed enclosure did it’s job beautifully. The main board looked pretty much the same as before. As of this writing, it has been running non-stop for over 505 days!
A month or two ago, there was a tropical storm that went close to my parent’s house. It was extremely windy and rained for days. Unfortunately, the BME280 sensor appears to have taken in some water as it only reports 100% humidity now. The manufacturer had a few recommendations like baking at a particular temperature, then rehydrating, but it didn’t work. The conclusion was that the BME280 shouldn’t be exposed to the elements, which doesn’t really work with an outdoor weather station. I began looking around for alternatives and ended up with the Sensirion SHT31 temperature/humidity sensor. They offer a filter membrane option which is water and dust rated (IP67) and should be able to handle some water droplets. For pressure, I decided to go back to the BMP280, but build a sort of cover around it to protect it from water while allowing for accurate pressure measurements.

With this latest redesign, I made a few more changes. First of all, I decided I would no longer be afraid of LoRa and put in a LoRa radio module. This will, with the right firmware, allow for standalone operation using LoRaWAN and The Things Network. It will also allow for much longer range, with its lower 900MHz frequency, with some slightly higher power consumption. I can continue using it with my Raspberry Pi point-to-point setup as well.

Next change was to get rid of the solar panel and battery charger. From similar projects, I estimate I can get the average power consumption in the low tens-of-microamps range or even single digit microamps. With some alkaline AA batteries or rechargeable AA batteries, the devices should last well over a year. This simplifies the circuit and makes installation much simpler, since no direct sunlight will be required. The final change is to split the pressure and humidity sensors and somehow shield the pressure sensor from the elements. I’ve had a few ideas bouncing around in my head, so I’ll have to try a few and see what works. The AM2315 sensor I used previously has a really nice mesh/membrane that’s supposed to shield it from water while still allowing humidity measurements to be accurate. Turns out that membrane isn’t super cheap, as I had suspected. I’ve also considered using a plastic tube with a very fine mesh to stop water from getting in but still allow for decent pressure measurements.

In the end, I might just dust off my CAD skills and just make a 3D printed enclosure that leaves the temperature/humidity sensor exposed while shielding most of the circuit, along with the pressure sensor.
That’s all I have for now. As always, all the design files are on github. If you have any questions/comments feel free to email me or message me on twitter @alvaroprieto.